
Powder Coating Automotive Frames and Roll Cages: Avoiding Thin Coverage in Complex Geometry
Powder coating roll cages and automotive frames is difficult for one main reason: the part is made from many easy surfaces joined by hard geometry. Long round or square tubes accept powder quickly, while welded intersections, gussets, mounting tabs, narrow gaps, and hidden inside corners often remain thin. The result may look acceptable from the front but fail inspection around joints, under crossmembers, or at the back of reinforcement plates.
These weak areas matter. Automotive frames and roll cages are exposed to vibration, handling, road contamination, workshop chemicals, and outdoor conditions. Consistent film build is therefore not only an appearance issue. It also supports corrosion protection and reduces expensive stripping, touch-up work, and repeat curing.
Why Automotive Frames and Roll Cages Develop Thin Coverage
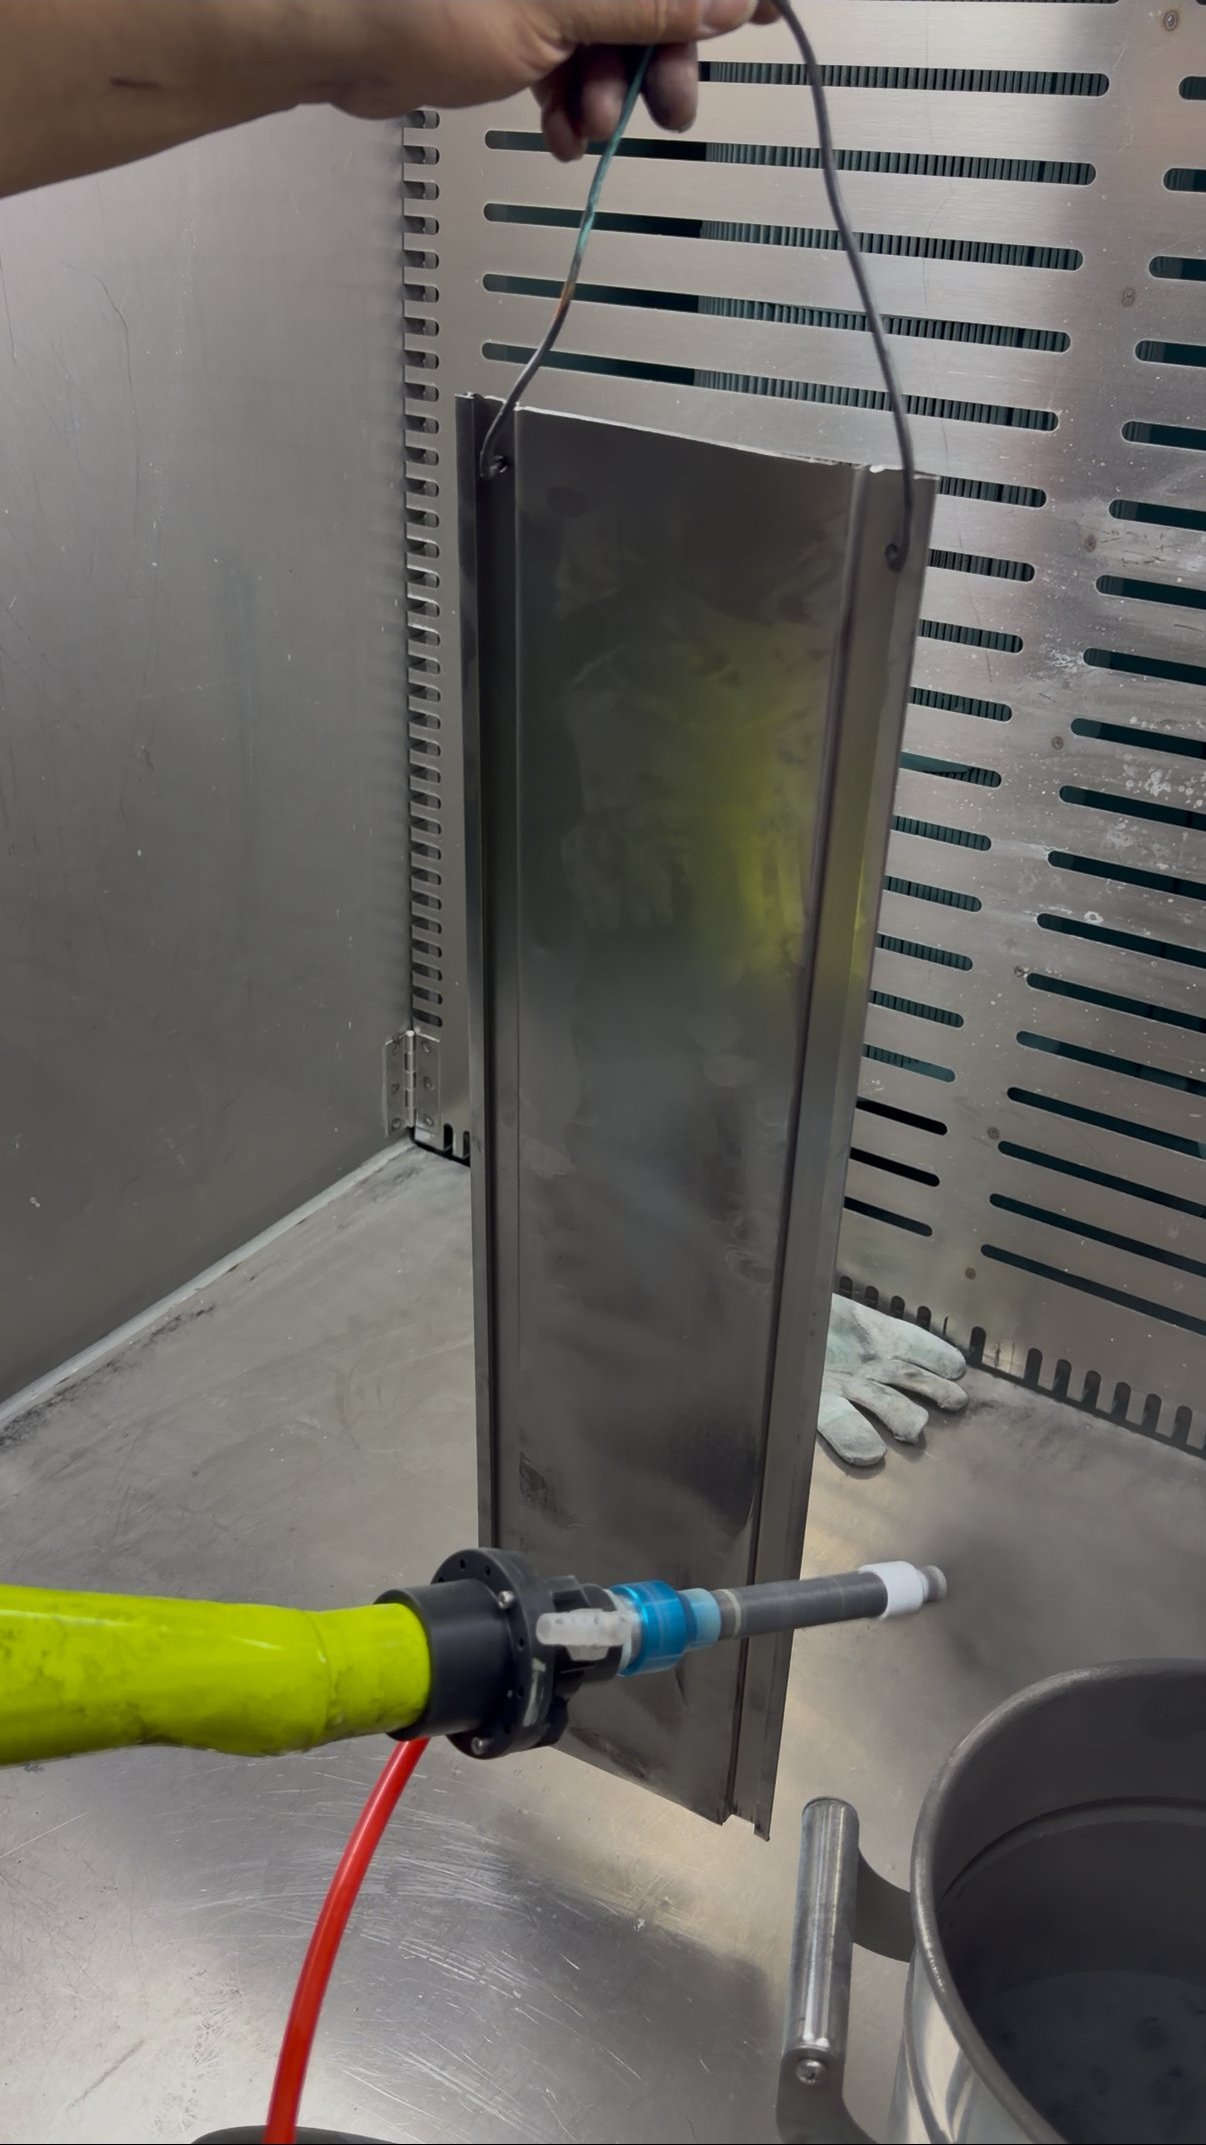
A roll cage is an electrostatic challenge. Each tube is connected to other grounded surfaces, and the electric field becomes strongest on exposed edges and the front side of the structure. Charged powder is attracted to those areas first. The same field can make it harder for powder to travel into the root of a welded joint or the narrow space between a tube and a gusset.
The powder cloud must also physically reach the surface. A gun aimed from only one direction may coat the front of a cross tube while leaving the back side light. Increasing output can create heavy film on the nearest tube without improving the hidden area. This is why successful automotive frame powder coating depends on spray access, sequence, grounding, and electrostatic control working together.
The Areas Most Likely to Be Missed
Tube Intersections and Weld Roots
At a tube intersection, the weld bead and the two tube surfaces create several changes in angle within a small area. Powder may build on the crown of the weld while the valley beside it remains thin. Grinding marks, weld spatter, and sharp transitions can make the cured finish look even less uniform.
Gussets, Brackets, and Mounting Tabs
Reinforcement plates and brackets create narrow inside corners. These areas are typical Faraday cage zones: powder collects on the outer edges but has difficulty reaching the deepest point. Staying longer on the trigger often overloads the plate face without solving the corner.
Hidden Sides of Crossmembers
Cross tubes and diagonals can block the direct spray path. A section that looks coated from the operator's normal position may have a light strip on the rear or underside. Large automotive frames can make these areas difficult to see before curing.
Sharp Edges and Tube Ends
Powder may be attracted to an exposed edge, yet the cured film at the exact edge can still be thin after flow-out. Burrs, laser-cut edges, holes, and unfinished tube ends need careful preparation and inspection.
Prepare the Frame Before Adjusting the Gun
Spray settings cannot correct oil, oxide, weld contamination, or poor pretreatment. Automotive frames should be cleaned thoroughly, including the underside of tubes, drainage holes, mounting points, and areas beside welds. Weld spatter and burrs should be removed because they create sharp points and shadowed surfaces that are difficult to cover consistently.
- Remove oil, cutting fluid, polishing residue, dust, and fingerprints.
- Clean welds and heat-affected zones according to the pretreatment process.
- Remove loose scale, spatter, and sharp burrs before coating.
- Confirm that hollow sections can drain and dry completely.
- Mask threads, bearing seats, and assembly surfaces before the spray stage.
If moisture or pretreatment liquid remains inside a tube, it can escape during curing and create pinholes or contamination. Drying is therefore especially important for frames with holes, boxed sections, or partially enclosed cavities.
Use Reliable Grounding and Stable Part Presentation
Large frames need a clean, dependable ground path. A heavy frame can hang securely while still having poor electrical contact because the hook or rack is covered with old coating. Check the metal-to-metal contact and keep hangers clean. When coverage changes from one frame to the next, grounding should be checked before voltage is increased.
Part presentation also affects access. The frame should be positioned so the operator or automatic guns can reach critical intersections from more than one direction. If a tube blocks a known problem area, adjust the hanging orientation, rotate the part, or plan a second pass from the opposite side. A stable fixture is important because a swinging frame changes gun distance and angle throughout the pass.
Spray the Difficult Geometry First
For powder coating roll cages, the best sequence usually starts with the hardest areas. If open tubes are coated first, their charged, powder-covered surfaces can make later penetration into adjacent corners more difficult. Coating joints and recesses first reduces this effect and lowers the risk of excessive film on the visible tube runs.
- Verify grounding and inspect the clean, dry frame.
- Coat deep tube intersections, gussets, and bracket roots.
- Spray hidden sides of crossmembers and underside areas.
- Cover weld beads and the valleys beside them from multiple angles.
- Finish long tube faces and accessible outside surfaces.
- Inspect high-risk areas under strong lighting before curing.
Control Powder Output, Air, and Electrostatics
Use a Softer Cloud Near Recessed Areas
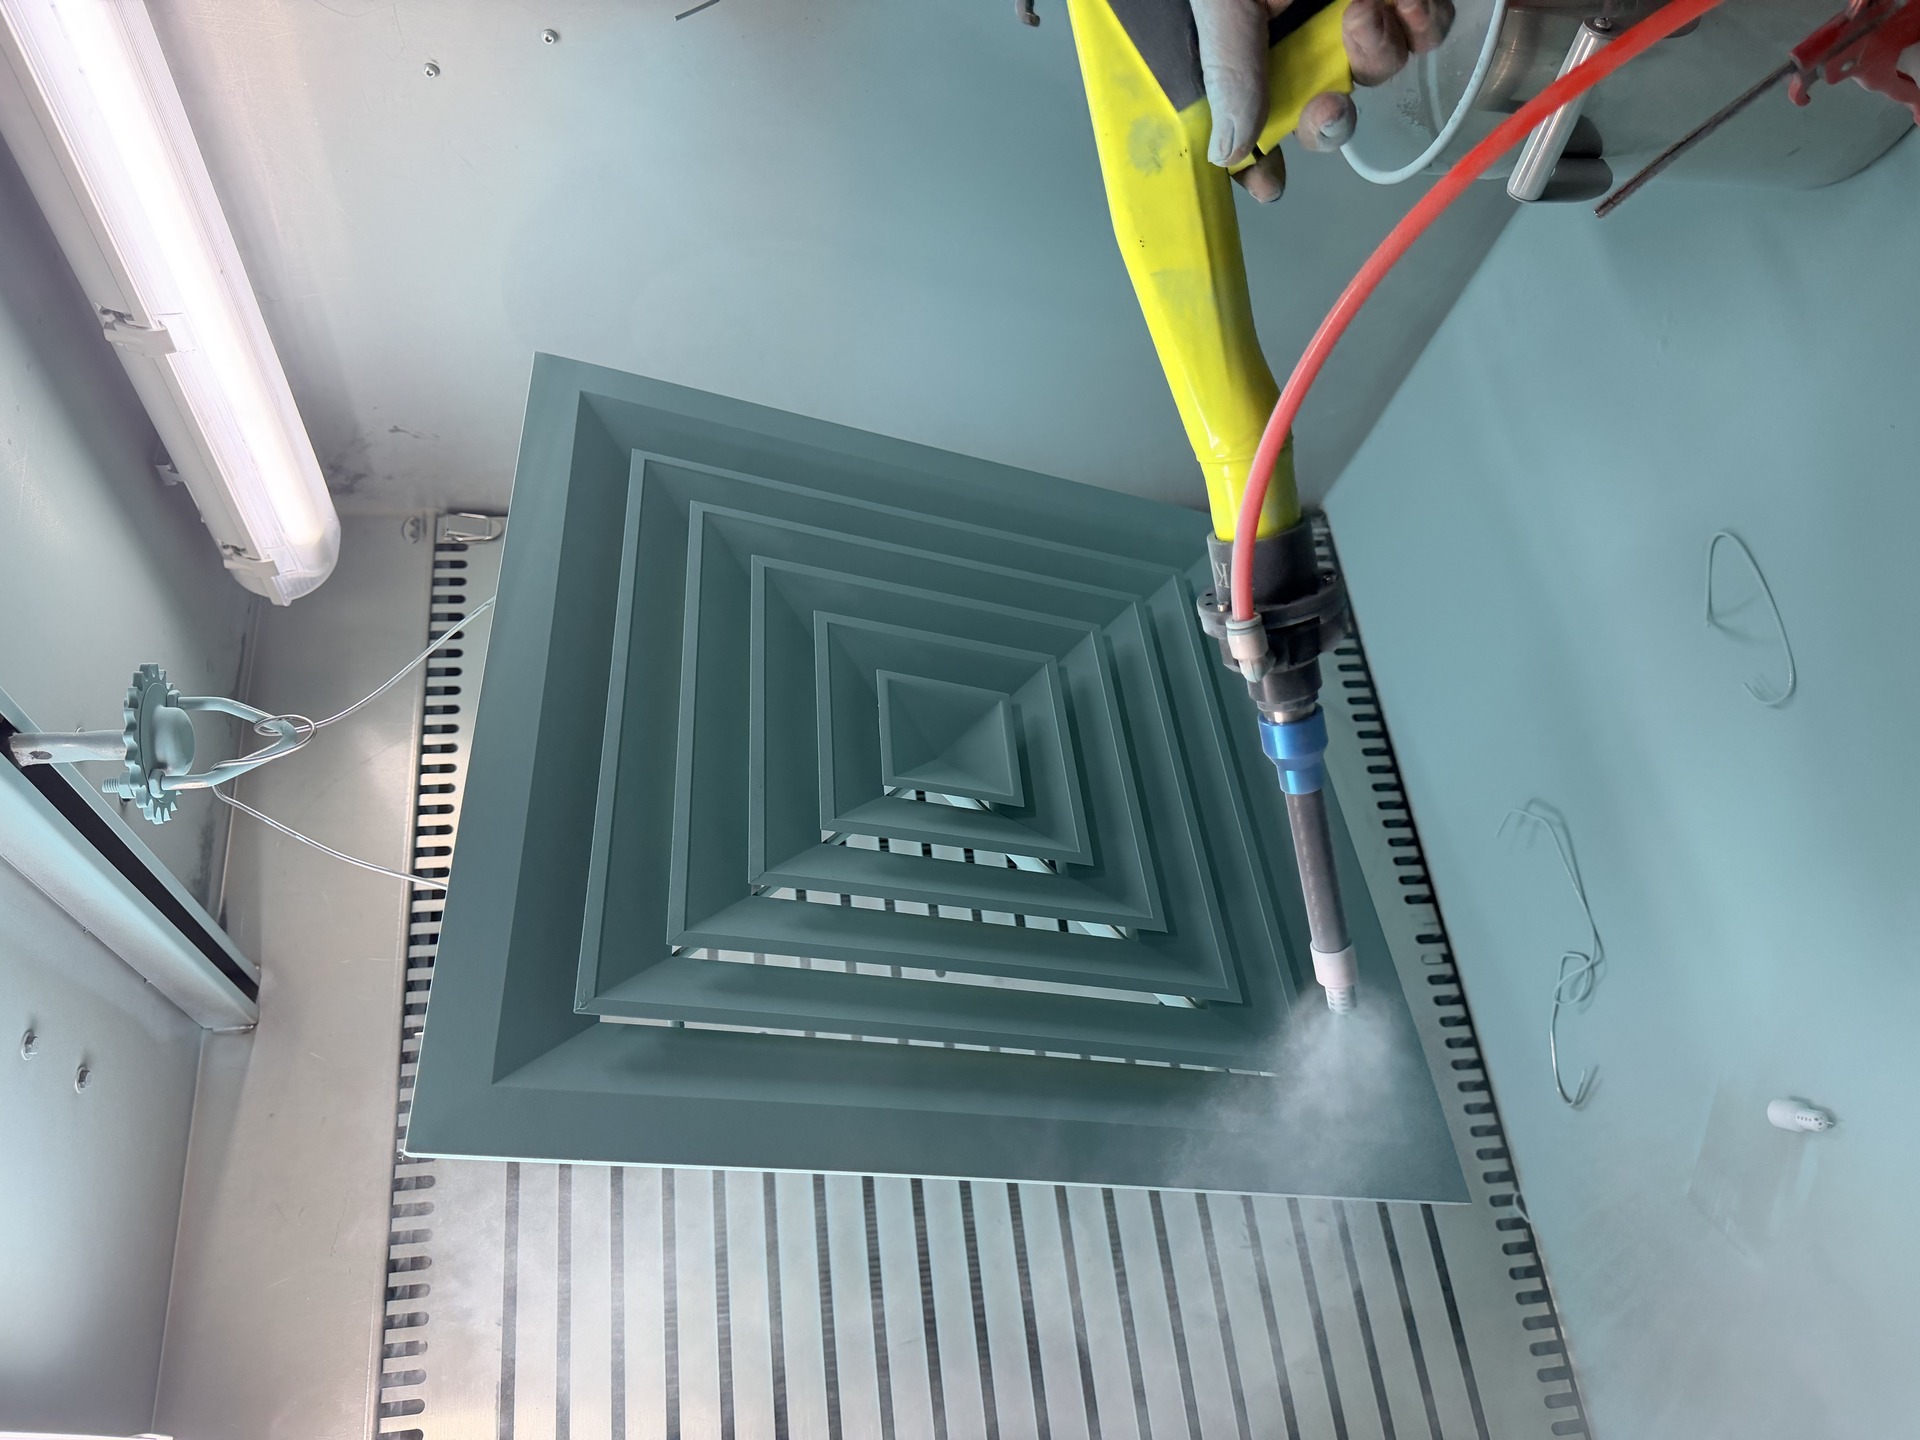
More powder is not always better. High output can cause bounce-back, poor visibility, and heavy buildup on the closest tube. A lower, stable output gives the operator more time to guide powder into the joint. The cloud should be controlled enough to enter the target area without flooding surrounding surfaces.
Reduce Electrostatic Strength When Corners Reject Powder
High voltage can work well on open tube surfaces, but it may strengthen the Faraday cage effect at narrow intersections. If powder deposits on the front edge and refuses to move deeper, reduce voltage and current for the corner pass. Restore the normal setting only after the difficult geometry has enough coverage.
Keep Distance and Angle Consistent
Holding the gun too close can create rapid edge buildup and back ionization. Holding it too far away can reduce deposition and make the cloud sensitive to booth airflow. Use a consistent working distance, approach joints from two or more directions, and avoid aiming straight into a corner for too long.
When a Rotary Cup Powder Gun Can Help
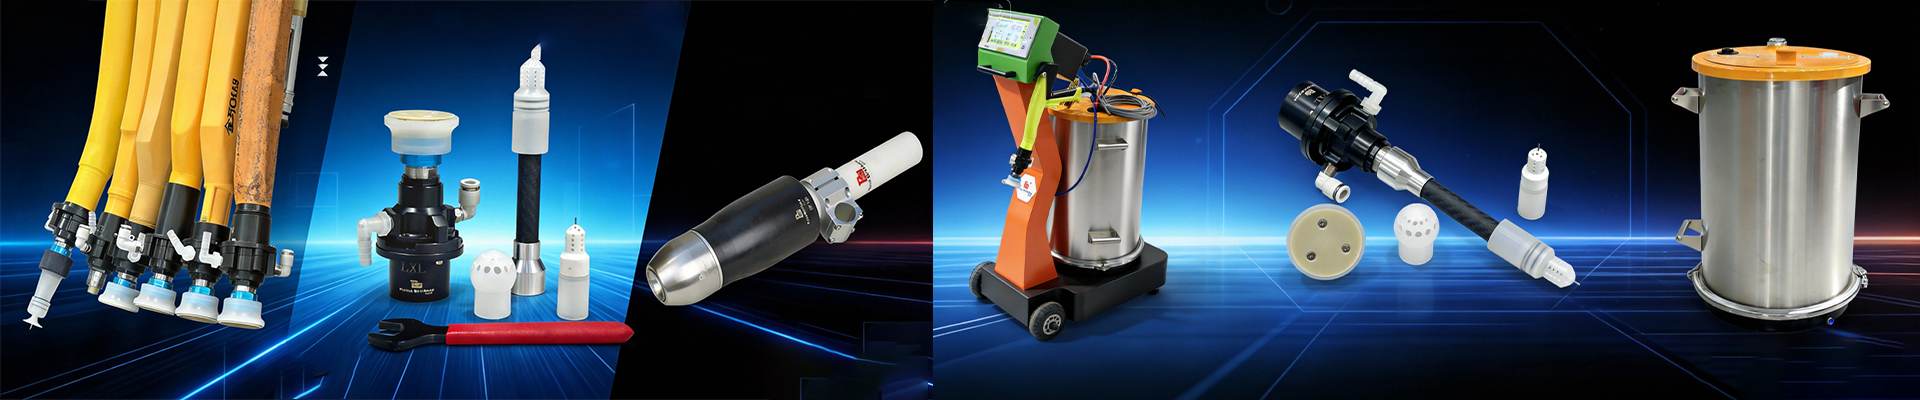
A rotary cup powder gun can produce a soft, well-distributed powder cloud that is useful on tube structures and irregular geometry. The benefit is not simply more powder. It is the ability to control how the cloud approaches the part and to reduce the concentrated air impact that can make powder bounce away from a recessed area.
For QXD / Paint Brothers customers, the Q7 powder coating gun is an option for sample testing on roll cages, motorcycle frames, welded chassis parts, and similar assemblies. Equipment should still be matched to the actual frame size, powder, booth airflow, production speed, and required finish. A sample spray on the customer's own part is the most reliable way to confirm the setup.
Inspect Before the Frame Enters the Oven
Inspection should follow a fixed route instead of relying on a quick front view. Use good lighting and check the root of each major joint, the back and underside of cross tubes, both sides of gussets, mounting brackets, tube ends, and masked transitions. For recurring parts, mark these points on a simple inspection sheet.
Film-thickness measurement should include both easy and difficult surfaces. A good reading on the front of a tube does not prove that the welded intersection has enough coating. When a defect repeats in the same location, record the hanging direction, gun angle, distance, powder output, voltage, and current so the team can correct the process rather than depend on memory.
Practical Checklist for Roll Cage Powder Coating
- Clean welds, tubes, holes, and hidden surfaces thoroughly.
- Remove spatter and sharp burrs before pretreatment.
- Dry hollow and boxed sections completely.
- Use clean hooks and verify the ground path.
- Orient the frame for access to hidden intersections.
- Coat gussets, weld roots, and blocked areas before open tubes.
- Use controlled powder output and adjust electrostatics for recesses.
- Approach joints from multiple angles instead of one long pass.
- Inspect the back, underside, and inside corners before curing.
- Record successful settings for each repeated frame design.
Final Thoughts
Powder coating automotive frames and roll cages is a geometry problem as much as an equipment problem. Reliable results come from clean preparation, dependable grounding, planned part presentation, a difficult-areas-first spray sequence, and settings that match each section of the frame. These controls improve coverage without forcing excessive powder onto the easy surfaces.
If your shop coats roll cages, motorcycle frames, chassis components, or welded automotive assemblies, QXD / Paint Brothers can help review the part geometry and recommend a practical powder coating setup. Contact us with workpiece photos, dimensions, powder type, and the areas that are difficult to cover. We can discuss a technical solution or arrange a sample spray test before you select equipment.